Quality control
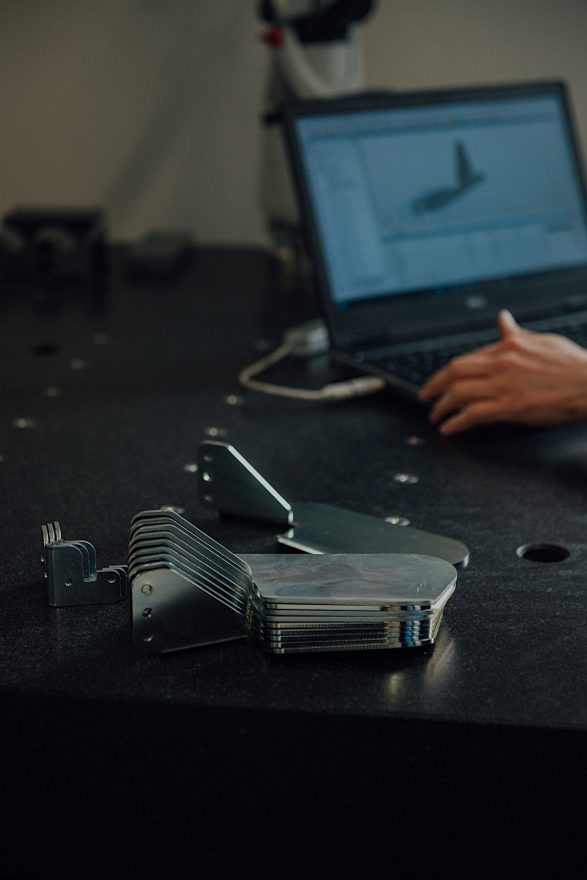
Quality control is an inseparable element of the production process. Our controllers verify material certificates at the stage of accepting materials into the warehouse, and then check the compliance and correctness of the elements with the technical documentation at various stages of production.
Machines and devices and several hundred measuring instruments
Analog and digital calipers
Analog and digital micrometers
Two- and three-point centrifuges
Additional checks and control patterns
The entire quality system operating in our company is aimed at ensuring the quality and repeatability of manufactured products, as well as increasing the trust and satisfaction of our customers.
Quality confirmed by certificates
Factory Production
Control System
To confirm our words, we have implemented the Factory Production Control System, which is based on the requirements of PN-EN ISO 9001:2009 and the application of the requirements of Directive 89/106/EEC, Regulation of the European Parliament and of the Council of March 9, 2011, as well as subject standards for manufactured products.
We own:
- Welding Process Inspection Certificate according to EN ISO 3834-2:2005
- Factory Production Control Certificate issued by a notified body
- Certificate confirming the implementation and application of the Quality System according to ISO 9001:2015 no.2908/2023
In accordance with procedures
The quality of our products and services is verified in accordance with the PN-EN ISO 9001:2009 procedures.
For most of our products, we have Technical Approvals AT-06-0687/2004, AT-06-0686/2004 issued by the Building Research Institute and Industrial Designs RP-7015, RP-7016, RP-13020, RP-13067, RP-12863, RP-12874, RP-12875, RP-12876, RP-15085, RP-15308 registered in the Patent Office of the Republic of Poland.
All machines are fitted with safety systems to protect operators.
Modern and precise measuring equipment
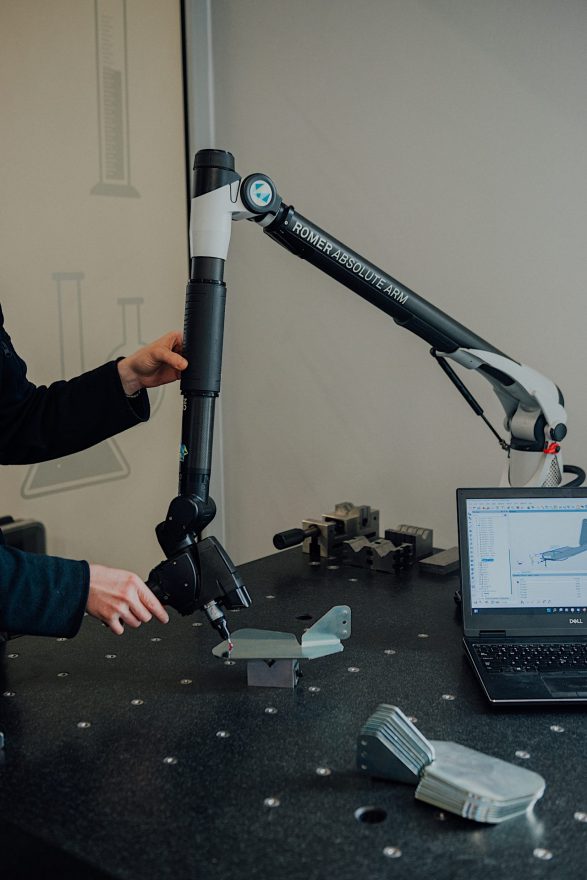
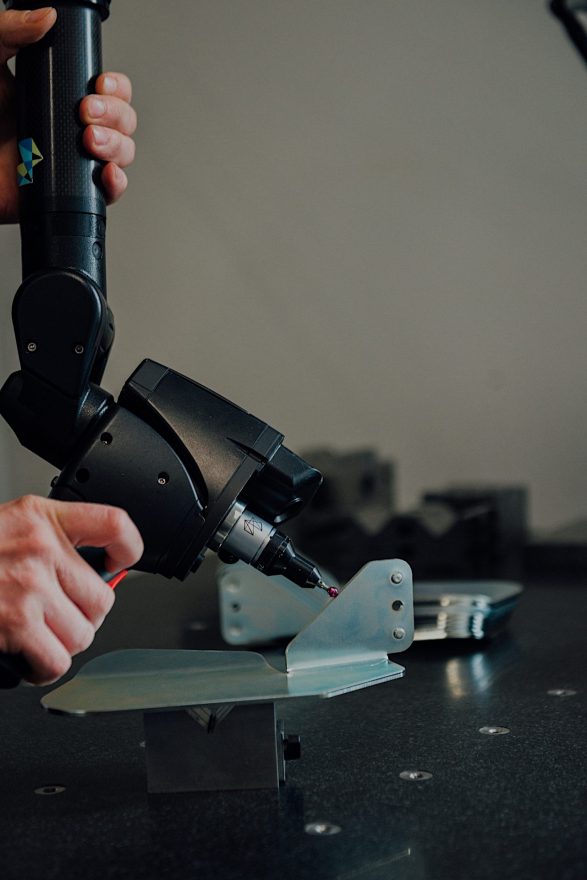
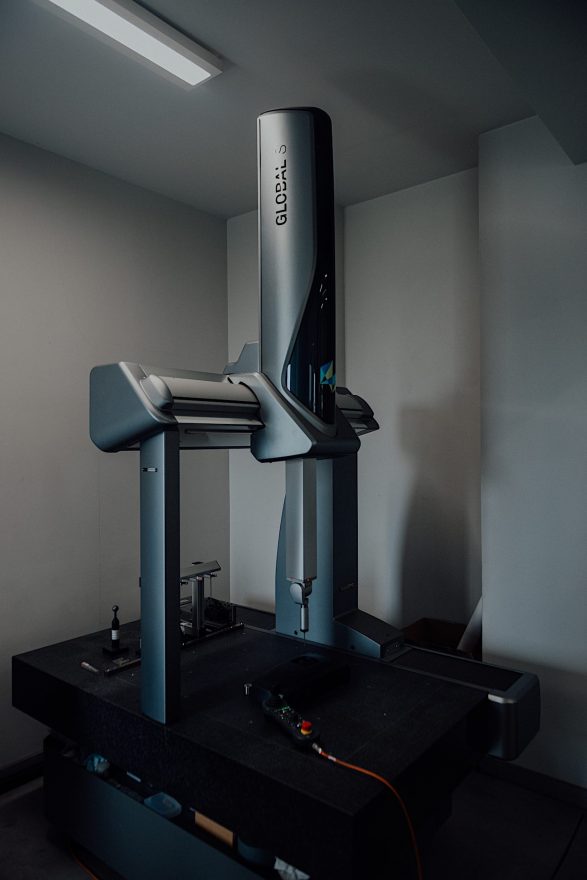
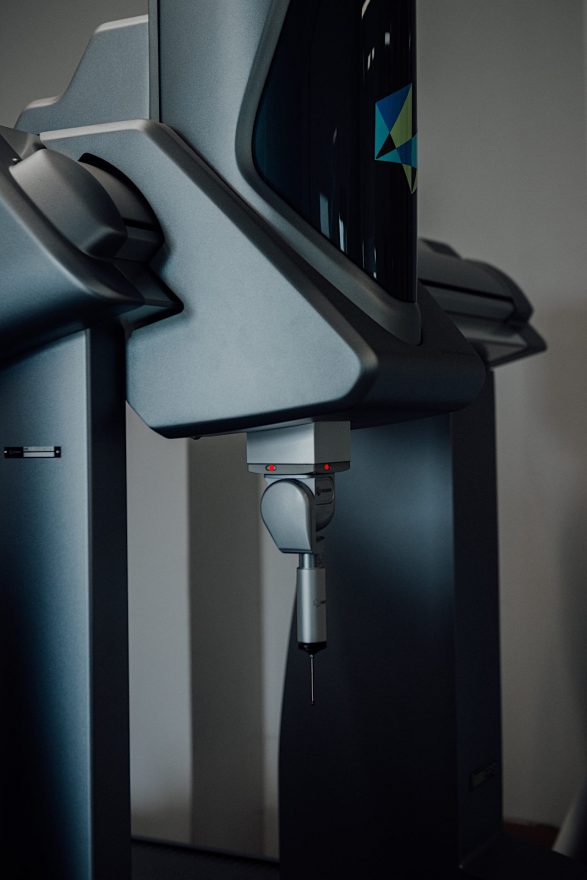
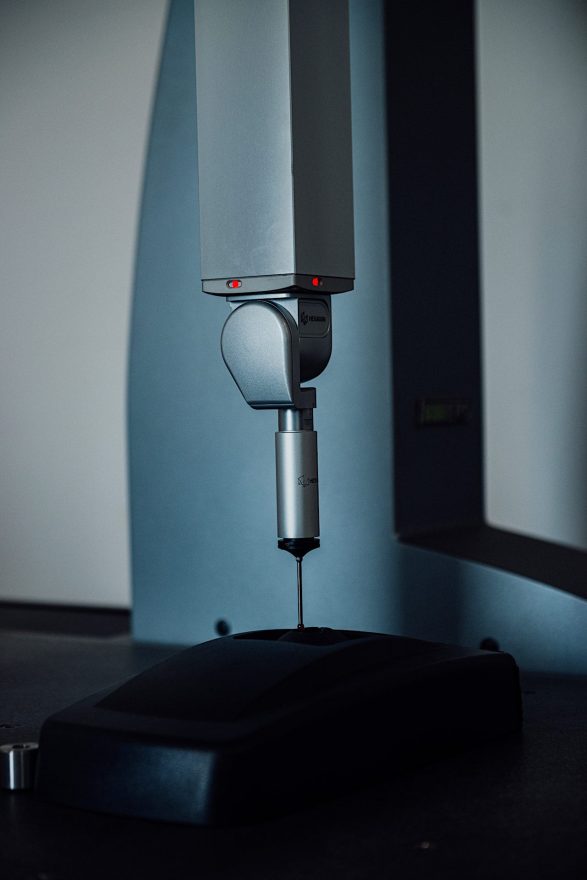
Our measurement laboratory uses modern, precise machines and measuring devices, such as a coordinate measuring machine and a portable HEXAGON measuring arm, with which we measure: shape, position, spacing, diameter, cylindricity, length, parallelism, perpendicularity, flatness, coaxiality, angles and many others. Moreover, we have the possibility of laser scanning to create a solid model of a physically existing product.
Measuring ranges and accuracy of our equipment
Test stands
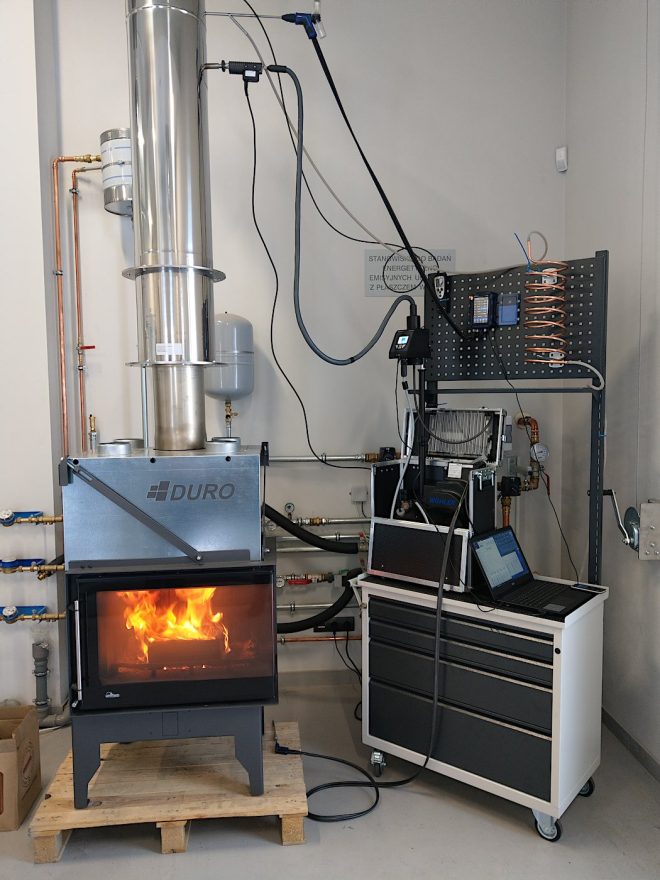
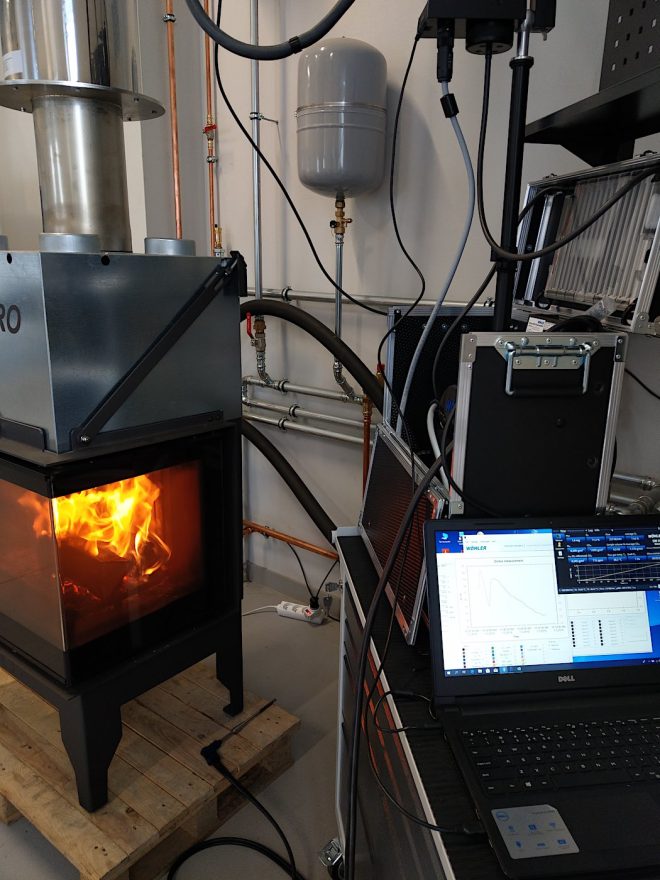
Our laboratory is also equipped with measuring equipment, by means of which the elements manufactured by us are subjected to energy and emission tests, including for compliance with the PN-EN 13229 / PN-EN 12809 standards.
In laboratory conditions, on test stands, we can determine the exhaust gas temperature, CO, CO2, O2, NOx emissions and the dust content in the exhaust gas. Based on the results obtained, further parameters are calculated, such as the efficiency or power of our devices.


